Seeing Your Reference Photos in a New Light
Simon Bland: 30 Jan 2024
For almost the entirety of my painting career I have used digital photography to capture my reference photos. Even when painting in plein air, I've always taken a camera with me.
I find that reference photos are much more useful if I can get them close to the way I want my paintings to look (I've never been much interested in doing it the other way round). The problem is that image processing with software like Photoshop and GIMP can be complicated, time consuming and difficult to replicate when doing all but the most basic things. But that changed when I discovered GIMP plugins, and I realized that multiple operations could be done in a single click.
This article is about some of the GIMP plugins I've created and which I use to process my reference photos. They are freely available for you to download, and you can also use them as the starting point for creating your own effects; I am publishing this blog post in conjunction with an article on how to write your own plugins for GIMP.
Matte-Fade
I developed this plugin in part to emulate the work of photographer Clare Gallagher. Her work has a unique look and a consistency that really appeals to me.
You can download it here: https://github.com/Nikkinoodl/Matte-Fade
The effect changes the curves of the image then overlays a gradient of colors, followed by overexposure and vignetting. The end result has some of the qualities of an older film print and is super for working into the light.
Here I've used a teal to purple gradient overlay. Most of the softness in the image comes from the old lens.
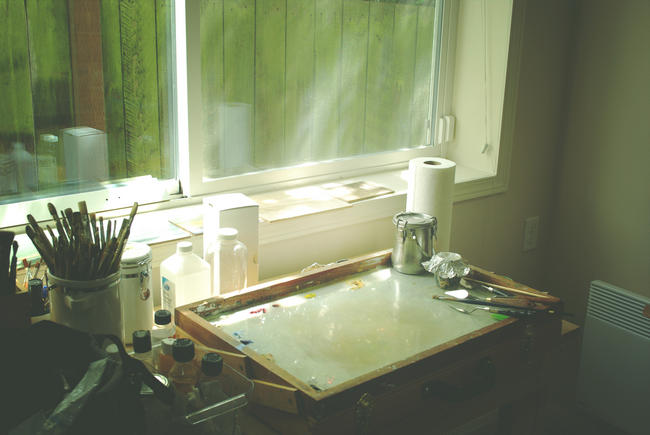
My old studio. Pentax K10D with Tokina 28mm manual lens
In the next image I used a transparent to purple gradient overlay to reinforce colors that already existed in the scene. I used a much sharper lens here, but a shallow depth of field because I wanted the background to be unresolved.
Palette. Pentax KP with Pentax 40mm HD DA Limited lens.
I re-worked Mario Crippa's Instagram plugins, combined them into a single plugin, simplified them and updated them to work with GIMP 2.10. These were one of the first GIMP plugins that I came across and I have used them extensively, although some of the scripts are more appealing than others.
You can download my version here: https://github.com/Nikkinoodl/Instagram
This is the Brannan effect applied to a photo that had a lot of green — I used it for a painting that I created with a limited palette.
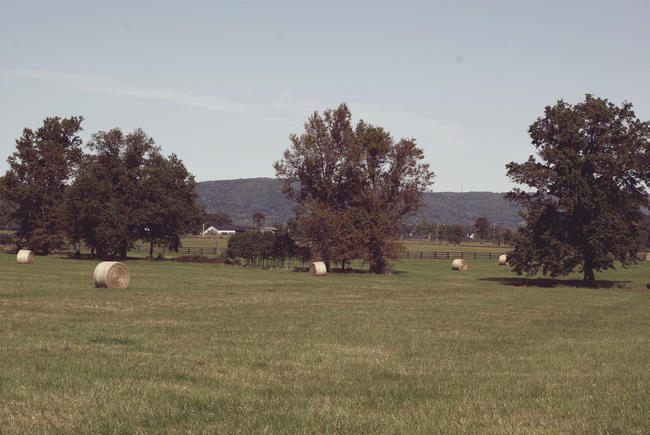
Meadow Grove Farm. Pentax K10D with SMC Pentax 50mm FA lens.
Some of the effects can help you quickly get into a different artistic mindset, like the Poprocket effect shown here.

Ace Hardware. iPhone SE.
Lomo
This plugin emulates the retro photography look of Diana and Holga cameras that were the inspiration behind Instagram's effects and the Lomography movement.
You can download it here: https://github.com/Nikkinoodl/Lomo
This script is written in Scheme, rather than Python, and the code is more difficult to understand. It has been around for something like 20 years in different forms, although I only discovered it recently. This version is based on the Elsamuko Lomo script which I updated to work in GIMP 2.10.
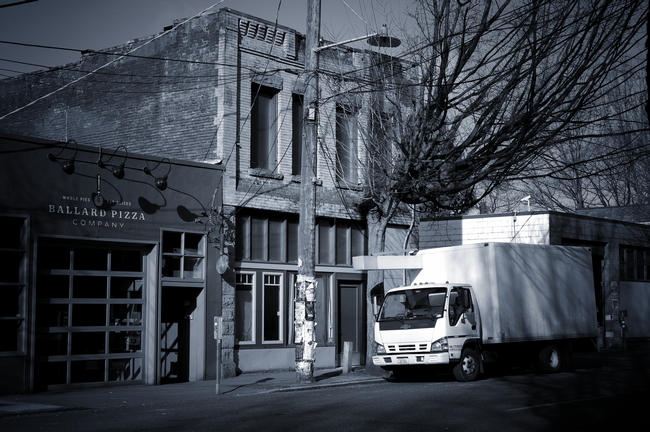
This plugin contains a lot of different effects and I find it works best for me if I use them sparingly. In this photo some of the retro look comes from using an old, manual lens.
Ballard Industrial. Pentax K10D with Photax 135mm manual lens.
This second photo was taken with a better camera and lens. I used the plugin more for artistic effect rather than for deliberately trying to give the photo a retro look.
Ballard Pizza. Pentax KP with Pentax 40mm HD DA Limited lens.
Nykvist
This final plugin is inspired by the work of photographer and fellow Pentax user, Annie Nykvist.
You can download it here: https://github.com/Nikkinoodl/Nykvist
It was the first plugin I developed for my own use, and it gave me the chance to learn how to create a GIMP plugin while also coming to grips with what turned out to be a complex, multilayered effect.
It creates a black and white image with sharpening at the center, a soft glow surround and fade out at the corners. It is particularly suited for animal close ups. Great to use if you are thinking of doing portraits in pencil.
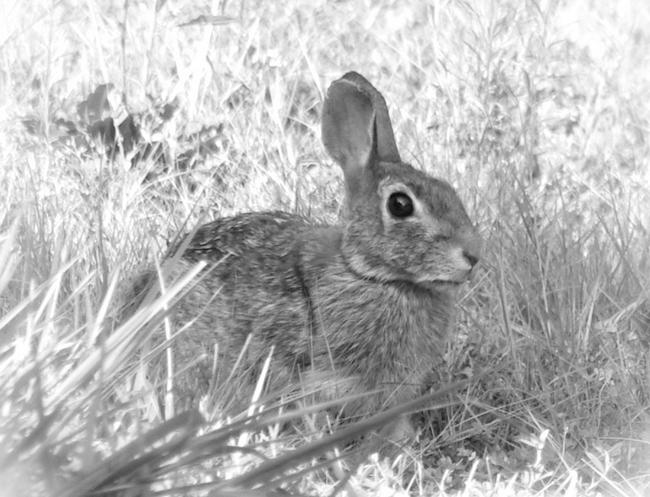
Rabbit. Pentax K10D with Tamron 70-300 FA lens.
And that's all folks. I do hope you will try some of these plugins for yourself and I would be delighted if I inspired just one reader to try their hand at creating a plugin of their own. Don't be afraid to take one of my plugins and tweak it even if only a little.
Adjusting Effects
All these plugins share one design feature — each component of the overall effect is created in its own new layer. You can fine tune any effect by changing the opacity of each layer.
Some plugins also allow parameters to be changed or switched on/off via an input screen.
If you add an effect to an image and don't like it, you can either revert the image to the saved version (using menu option /File/Revert) or delete the effect layers by right clicking on the layer and selecting "Delete" (/Windows/Dockable Dialogs/Layers, or Ctrl+L will display the layers).
Installing the plugins
Download the relevant .py file from one of the links above then copy it to one of the following locations.
Windows:
C:\user\<username>\AppData\Roaming\GIMP\2.10\pluginsLinux:
/usr/<username>/.config/GIMP/2.10/pluginsThe Lomo plugin is a script file which must go into a slightly different location. Download pbsb-lomo.scm and copy it to the scripts folder which you'll find alongside the plugins folder.
Open GIMP and you're now ready to go!
Simon Bland: 30 Jan 2024


