How Do I Make My Own Painting Panels?
Simon Bland: 21 Apr 2016
One of the things that differentiates me from many other artists is that I prepare my own canvas and panels. Consequently, I'm able to tailor the painting surface to suit my technique and I can easily customize the size and proportions of my work.
This blog post is a brief guide to making your own painting panels and it can be read in conjunction with my post on preparing your own canvases.
This is not for everyone, of course, but all you need to get started are a few basic tools and a little space to work.
Costs
If you are not convinced that preparing your own linen is worth doing for the quality of your painting surfaces alone, here is a breakdown of costs for making 40 linen panels from scratch (which range in size from 24" x 24" to 5" x 7"):
Linen or Hemp $55–$150 depending on quality
Oil primer, gesso, adhesive $45
Plywood (full sheet) $35
Total $135
The average panel size is about 9"x12". Using hemp or a cheaper grade of linen this comes to about $3.50 per panel, for portrait grade linen the cost starts at about $4.50 per panel.
Preparing the Panels
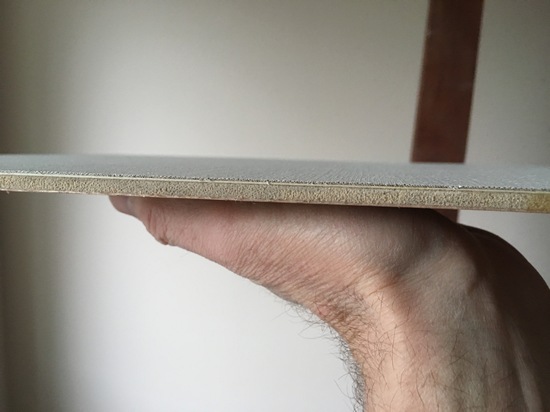
I generally use furniture grade ¼” birch plywood with two good faces.
Some artists prefer Baltic birch (which you will need to buy from a mill shop)—it has more layers and has fewer defects in the faces than regular plywood. I also like to use 1/4" melamine coated MDF as it is easy to cut and relatively inexpensive.
Before cutting the board I apply a thin coat of shellac on any untreated faces. This makes it less absorbent and stops the glue sinking in to it. It may also help prevent warping due to moisture absorption.
Shellac dries quickly and doesn't give off overpowering fumes. It is alcohol based so it will not cause the board to warp.
Once dry, I measure out the panels and draw cut lines with a pencil, straight edge and set square. I prefer to cut my boards by hand using a Japanese pull saw, but you can use a table saw or reciprocating saw instead if you have one.
Once the panels are cut, clean up the edges by hand with a small edge planer. Then sand the edges to remove any splinters. Finally, both faces need to be brushed and wiped with a paper towel to remove the dust.
Tip: If you plan on making panels regularly, it is a good idea to make and set aside a template for each size. Put extra effort into the templates to ensure that the corners are square and the edges are straight and true. It makes the job of marking out all your future panels much easier.
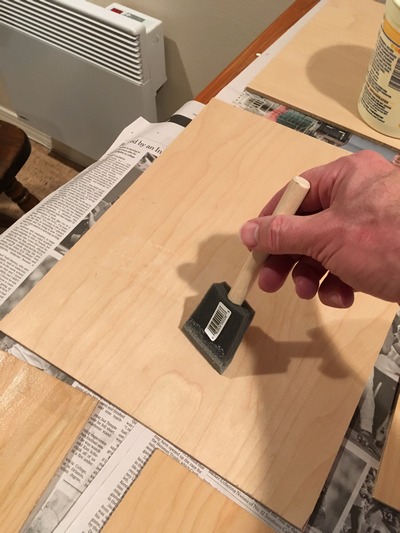
Applying a sealer after the panels have been cut.
Mounting the Linen
Using your panel as a guide, use a pencil to mark out a piece of primed linen or canvas slightly larger than the panel, at least 1/2" bigger all round. Cut the canvas to size with scissors.
It is better to use canvas that is sized with polyvinyl acetate (PVA). Rabbit skin glue (RSG) size absorbs moisture during this part of the process which causes it to wrinkle at the edges (and it will often shrink too).
Make sure the back of the canvas (the unprimed side) is free of loose threads, lumps and bumps. Sand it gently if necessary and remove the dust.
I recommend using acrylic matte medium to mount the linen to the panel—it is easier to apply than any other type of adhesive I have tried. Apply it straight from the container using a large paintbrush to get an even coat.
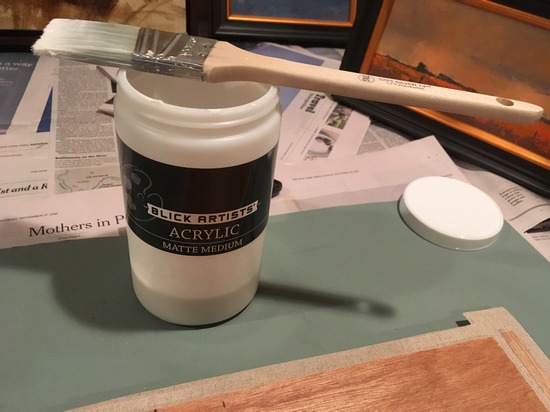
A long handled sash brush makes it easy to get to the medium in the bottom of the container
You need to use enough medium to fill in the back of the weave, but not so much that you cause globs to form under the canvas. It takes a little bit of practice to get this right. It is not a good idea to thin the acrylic medium (I speak from experience) as too much water will make your primer fall off the canvas.
An even coat of acrylic medium
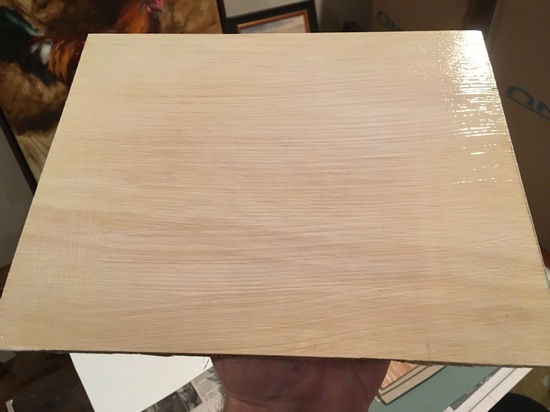
Immediately place the back of the linen on the glued face. The threads of the canvas should be aligned in the same direction as the edges of the canvas.
A well-primed linen should just lay flat without much trouble, but you must ensure that you don't have any bubbles of air or big, uneven lumps of medium underneath. Also, if there are any bits of loose wood or other dirt on the plywood you will notice the resulting bumps. Peel back the linen and remove them immediately.
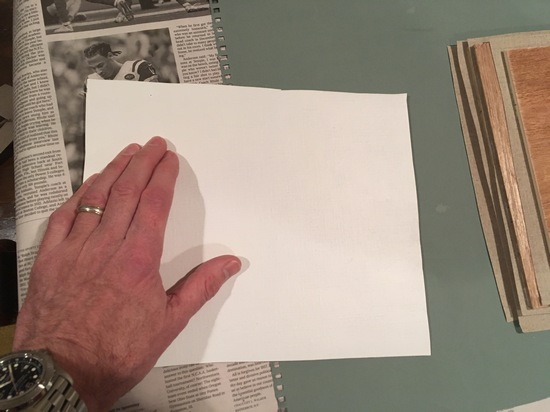
I have found that smoothing the linen out with the palm of your hand is usually more than enough to do the job, but some artists use a veneer roller or cold mount roller to get the linen nice and flat. A rolling pin will also work well for your largest panels.
A well-primed linen should lay flat on the panel and be easy to smooth out
Finally, place the panel canvas-side down on a piece of cloth (an old table cloth, for example) or clean paper laid over a flat surface and evenly distribute some weights on it. For a 9x12 panel you need about 25lb of weight.
When making more than one panel of the same size they can be stacked, face down, on top of each other and the same weight will do for all the panels in the stack.
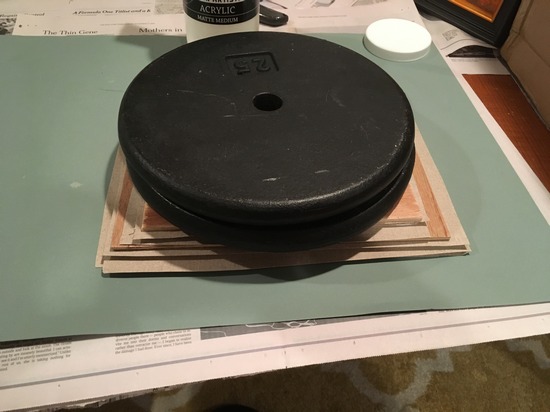
You can stack panels of different sizes providing they are close in size and shape.
After you've finished make sure to wash the glue brush to remove the acrylic medium.
Let the panel dry overnight then remove the weights and trim off the excess linen around the edges of the panel with a box cutter.
The edges of the panel should look clean like this
You can also mount the linen after painting, but do not attempt this until you have had plenty of practice. You will need to be careful to line up the painting with the edges of the panel and take extra care not to get bubbles trapped under the canvas. You should avoid doing this with fresh paintings or those with heavy paint texture as the paint can be flattened by pressure from the weights.
Mounting Unprimed Canvas
Although I recommend making your own painting panels with canvas that has already been primed, it is possible to mount unprimed canvas. This is actually a very efficient way to use up all those scraps of canvas that tend to accumulate in your studio.
Instead of using weights to apply pressure during drying, wrap the canvas around the edge of the panel and stretch it out with your hands (no need for stretching pliers). On thin panels use packing tape on the rear of the board to hold down the canvas; on thick panels (1/2" and larger) you can staple down the edges.
Do not use weights on unprimed canvas panels and always allow them to dry face-up. By doing this you prevent the acrylic medium from seeping through the unprimed canvas and sticking to the table. You tend to get flat spots in the weave when this happens.
The acrylic medium will cause the canvas to shrink slightly. The tape or staples will keep it in place as it dries.
When dry you can follow the normal procedure for priming the canvas.
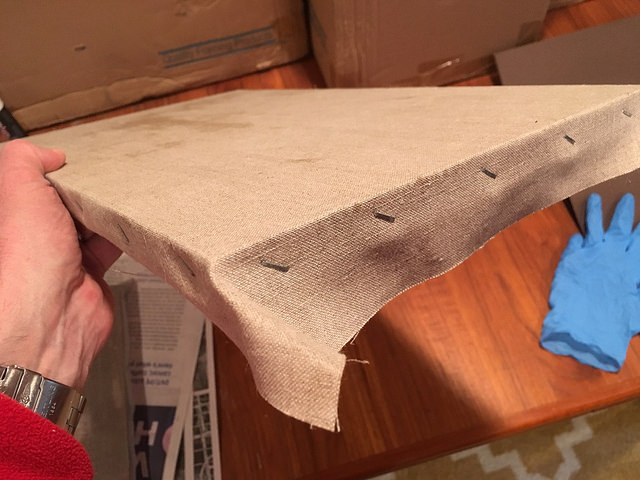
For raw canvas use a thicker panel so you can staple the edges
Inspect Your Work
Once the panels are made you should look over them carefully. Try to identify any panels that have obvious defects in the canvas: air bubbles, lumpy texture, etc. Put those to one side and keep them as practice panels to use in the studio for sketches and studies.
Finally, inspect the painting surfaces and make sure the canvas is smooth enough to work on. Canvas glued to a panel may have a different texture from stretched canvas. If you think the surface is too rough, take one panel, lightly sand it, and apply another thin layer of primer to see if that creates a better painting surface.
Document Your Process
Once you had created some panels of your own, it is a good idea to make a checklist to guide you through the process for next time you make them. This might seem unnecessary for such a simple process, but preparing linen and making panels is something that is done infrequently.
Since first posting this article I've added more images to make the explanation clearer.
Further edits made October 2020.
Simon Bland: 21 Apr 2016