How to Make Your Own Oil Sticks
Simon Bland: 23 Jan 2017
TL; DR: Yes, you can make your own, but it's not worth it.
I went through a period when I thought that oil sticks would be the thing that propelled my art career to the next level. I eventually moved on to the next great idea, but not before I wondered if it would be possible to make my own.
In this article, I have described a way to make your own oil sticks. The formula below was the result of some experimentation and, while the softness feels right, the resulting oil stick is a bit too waxy for my liking. So, if you try this yourself, you will need to experiment with the formula.
If you take account of the cost of materials and molds, the economic benefit of making your own comes down to a question of scale. If you make them in bulk, the unit cost will be on par with the price you pay at your local art store. Making just one or two will cost more than buying them ready-made.

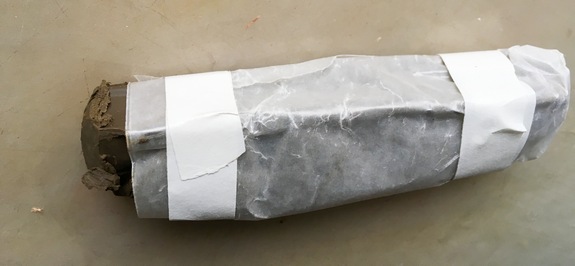
A home-made oil stick wrapped in wax paper
Formula: 1/4 cup bleached beeswax pellets, 2 tablespoons raw umber oil paint, 1 teaspoon alkyd gel, 1/2 teaspoon linseed oil, 1/2 teaspoon solvent (I used orange oil)
Important safety notes
Take great care when melting the wax and mixing the ingredients. Oil and wax easily catch fire and it is possible to generate combustible vapors.
Never melt wax on an open flame stove top and never bring oil, alkyd medium or solvent anywhere near the stove top.
Only use non-toxic paints.
Melt the wax in a double boiler, then remove from the heat and add the rest of the ingredients. Stir thoroughly and pour the mixture into a mold lined with wax paper. After cooling for an hour or so, the stick can be removed from the mold and is ready for use.
The hardest part is making the mold—I created one from some pieces of wood that were clamped together. It was much too fiddly. A small candle mold would have been a better choice.
In the end, the oil stick felt OK in my hand, but when I tried it on a canvas it was noticeably waxier than a store-bought brand. It also costs more to make than it would to buy.
Simon Bland: 23 Jan 2017